tutorial · 2025-09-12
Stamping Rivers, Lakes and Water Features with UE5 Landscape Tools
Use the Landscape Stamp Tool and Water plugin together to carve believable rivers and place lakes that actually match your terrain height.
The classic problem: water that fights the terrain
Dropping a Water Body River or Lake into a level and hoping it looks good almost never works on the first try. The water either clips through hills, sits too high and creates dry waterfalls, or leaves ugly gaps where your stamped terrain meets the water plane.
The Landscape Stamp Tool is excellent at carving directional features (canyons, riverbeds, mountain passes). When you combine stamped negative height with the Water plugin's river and lake actors, you get water that actually follows the land instead of fighting it.
This tutorial assumes you already have a base landscape (either imported heightmap or stamped). We focus on the water integration step that most people skip or do wrong.
Step 1: Carve the riverbed or lake basin first
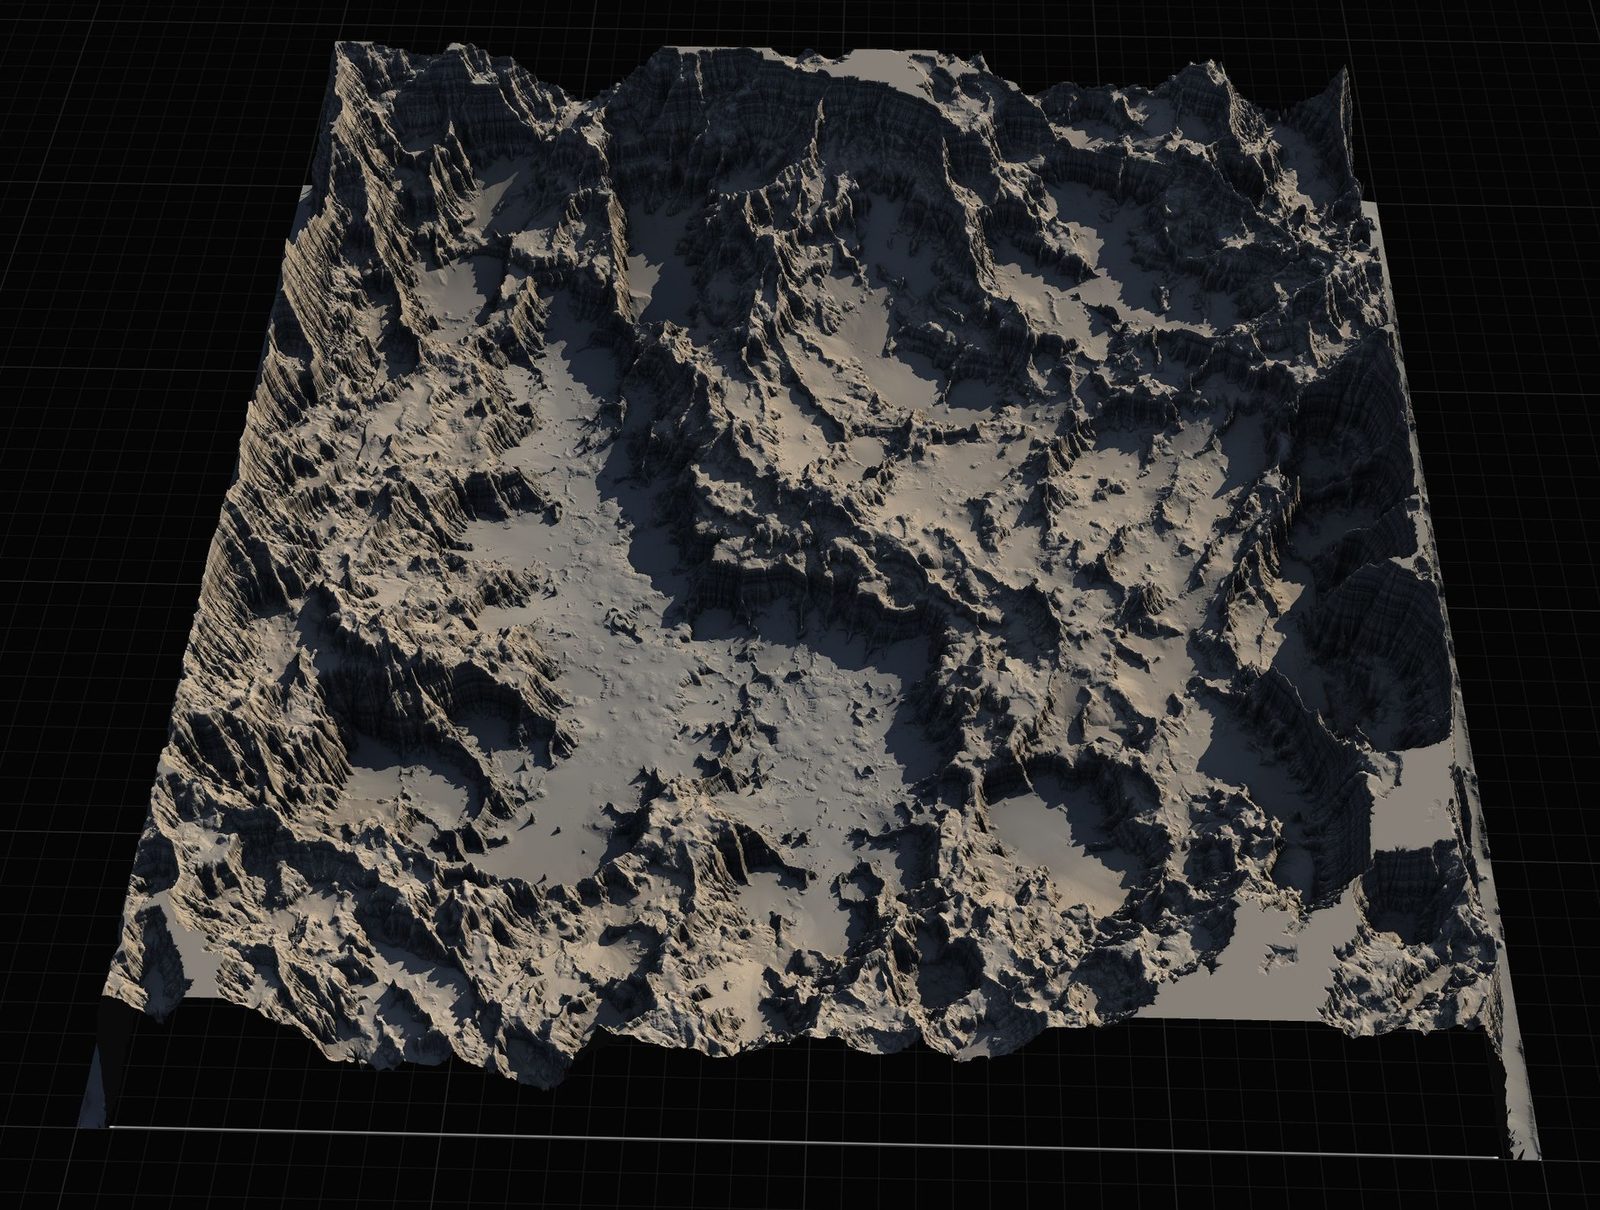
Never place water first. Start by stamping a river or lake shape using the appropriate stamp type (River or Basin/Canyon). Lower the strength or use multiple lighter passes so the depression is gentle rather than a knife cut.
For rivers, use the directional stamp and paint in the flow direction you want. Add slight meanders by stamping overlapping sections at slight angles. Real rivers are rarely perfectly straight.
For lakes, stamp a broad shallow bowl first, then refine the edges with smaller stamps or manual sculpting. The goal is a clear shoreline at a consistent height band where the water surface will sit.
Step 2: Place and align the Water Body
Add a Water Body River or Water Body Lake from the Water plugin. Position it so the water surface sits just above the lowest point of your stamped depression but below the surrounding banks.
For rivers, the Water Body River has a spline that defines the path. Trace your stamped riverbed with the spline. Enable 'Debug' or use a simple material temporarily so you can see exactly where the water volume is.
Match the width of the water spline to the width of your stamped riverbed. Too narrow and you get dry edges; too wide and water climbs the banks unrealistically.
Step 3: Layer materials and fix the shoreline
Use the landscape material's layer blending (height + slope) to paint a wet sand or riverbed layer only inside the stamped depression. This sells the transition from dry land to water edge.
Add a subtle foam or edge material on the Water Body itself using the Water Material's parameters. Many people leave the default bright blue water which instantly looks like a video game.
Slightly raise or lower the Water Body height in small increments while PIE testing. The perfect height is usually 5-15 cm above the lowest stamped point so the water 'settles' into the carved shape.
Performance and next steps
Large rivers and lakes are expensive. Use the Water plugin's scalability settings and consider disabling caustics or reducing tessellation on lower-end targets. Profile with the Water plugin stats.
Once the base water is working, add secondary VFX: gentle Niagara splashes at river bends, slow ambient bubble systems on lakes (Bubble Bloom VFX works well here), and shoreline foliage that reacts to the water edge.
If you need many rivers across a large world, stamp a few hero rivers by hand and use PCG or Blueprints to instance lighter water bodies on smaller streams. This keeps the expensive Water Bodies limited to key locations.
FAQ
Why does my water float above the terrain even after stamping?
You probably placed the Water Body before stamping, or the stamp didn't go deep enough. Always stamp the depression first, then align the water surface to the carved lowest point.
Can I use the same stamp for both riverbed and lake?
The River stamp is directional and better for flowing water. Use the broader Basin or manual sculpt for lakes. You can combine them for river deltas into lakes.
Landscape Stamp Tool
Sculpt terrain by dragging blueprint tools into a World Partition level — seven geological stamp types (mountains, canyons, rivers, volcanoes and more) that blend together to morph the landscape in place. 8 tool blueprints, no code.
Related on Fab

Related reading